A Slacker’s Guide to Programming

Create a Simple Django Boilerplate (Part 1)
Let's create a Django Boilerplate to get you started on any project.
Introduction
Django is a full featured Python Web framework that follows the model-view-template architectural pattern.
It removes the complexity of creating database-driven websites with plug and play components and allows rapid development for web projects.
In this tutorial, I will show you how to create a basic Django boilerplate that you can use for your projects.
Requirements
- Python v3.7.2
- Django v2.1.5
Installation
First, let's download the latest version of Python from the official repository and install it.
Next, we will set up our virtual environment using venv.
What is a virtual environment?
A virtual environment is like a container that stores all the installed packages and dependencies of your application. The packages and dependencies remain separate from other applications.
It is good practice to set up a virtual environment whenever you start a new Django project.
Set up your virtual environment
Create a new directory and name it demoapp.
$ mkdir demoapp && cd demoapp CD into the new directory and run the following commands in the terminal to set up and activate your virtual environment.
$ python3 -m venv myvenv
$ source ./myvenv/bin/activate
You should see the following in your terminal.
(myvenv) My-Machine:demoapp dev$Create your first project
Install Django using pip.
$ pip install djangoSave the dependencies into a requirements.txt file.
$ pip freeze > requirements.txtWhat is a requirements.txt?
The requirements.txt file contains a list of dependencies for your application. The list of items can be installed using pip install.
Its main purpose is to allow repeatable installations of all the dependencies relating to your application. You can read about requirement files from the official pip documentation.
If you are familiar with bower or node package manager (npm), the requirements.txt file operates along the same concept.
Let's go ahead and create a Django project.
$ django-admin startproject demoThis command will create a demo directory with all the necessary files. Your directory structure should look like this.
├── demo
│   ├── __init__.py
│   ├── settings.py
│   ├── urls.py
│   └── wsgi.py
└── manage.py
If you cd into the demo folder and start your server now, you will see a warning in the console.
You have 15 unapplied migration(s). Your project may not work properly until you apply the migrations for app(s): admin, auth, contenttypes, sessions.
Run 'python manage.py migrate' to apply them.
To fix this, quit the server (Ctrl + C) and run the following command.
$ python manage.py migrateWhat are migrations?
Migrations are like a version control system for your database schema. When you make changes to the models, you need to propagate the changes into the database schema.
Go ahead and start the development server.
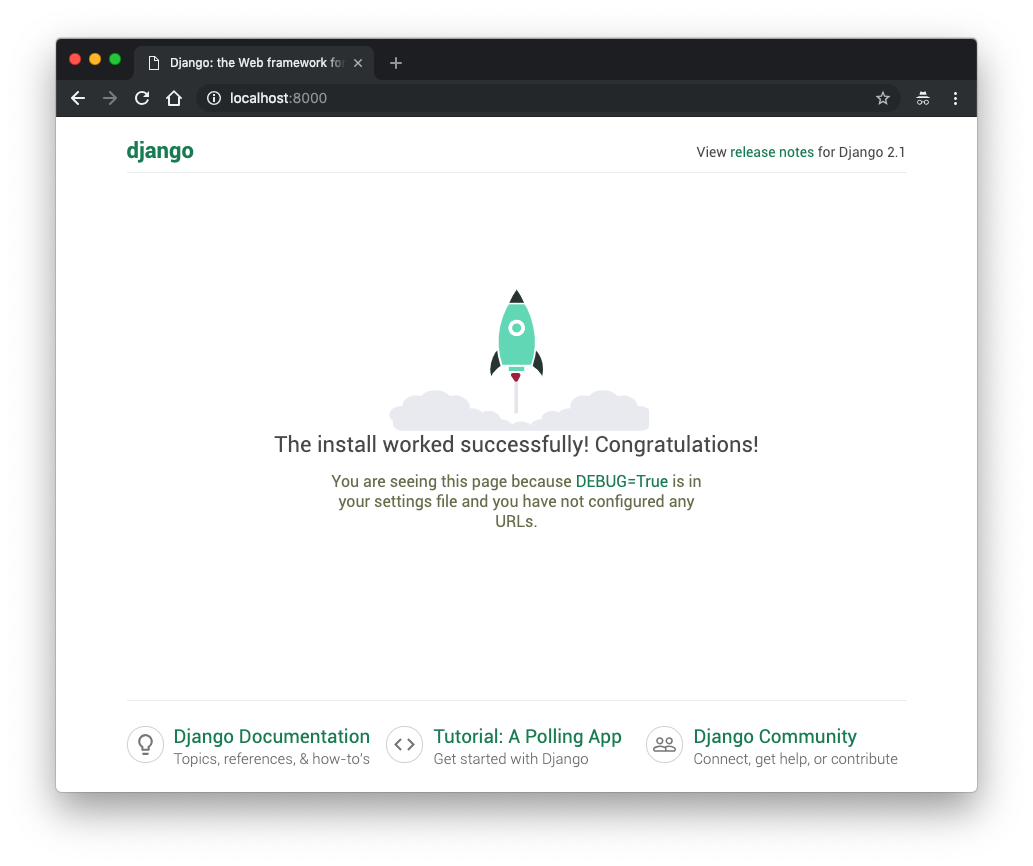
$ python manage.py runserverVisit http://localhost:8000 with your browser and you should see the following landing page.

This doesn't look too exciting. Let us change that.
Creating your first application
Enter the following command to create a Django application.
$ python manage.py startapp boilerplateDjango has created a new folder named boilerplate and generated some starter files.
Your new directory structure will look like this.
├── boilerplate
│   ├── __init__.py
│   ├── admin.py
│   ├── apps.py
│   ├── migrations
│   │   └── __init__.py
│   ├── models.py
│   ├── tests.py
│   └── views.py
├── db.sqlite3
├── demo
│   ├── __init__.py
│   ├── __pycache_
│   ├── settings.py
│   ├── urls.py
│   └── wsgi.py
└── manage.py
If you start the development server now, you will see that nothing has changed. In order to customise the home page, we will need to create a view.
Continue on to part 2 of the tutorial where we will begin to write some code.


